Images |

|

|
|
Images |

|

|
This feature is available in the Premium edition only.
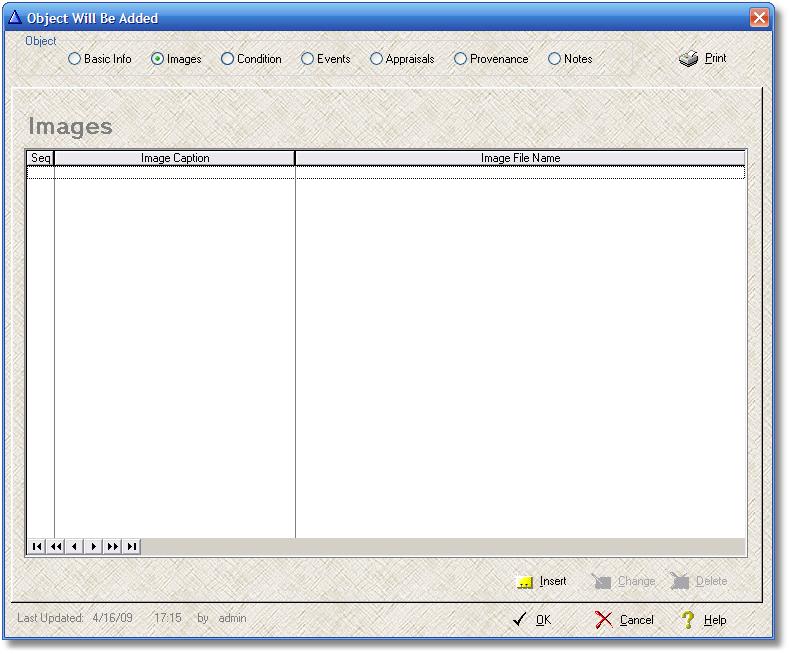
The Object's Images page provides you with a browse list box where you can add an unlimited number of image references for this one Object. By image reference, I mean that you can point to an image file somewhere on you computer (or network), and associate that image file with this Object. The software will display the image on the Image Form (see below), and it will display a thumbnail of the image on the Basic Info page. Future versions of the software (if the project is successful) can use these images in the creation of web pages.
The image must already exist. This software does not include the ability to scan or otherwise capture the images and write them to files.

The usual browse list box navigation techniques are available. To add an image, click on the Insert button. To view or change the image reference, highlight the reference in the browse list box and then click on the Change button. To delete a reference, highlight the reference and click on the Delete button.
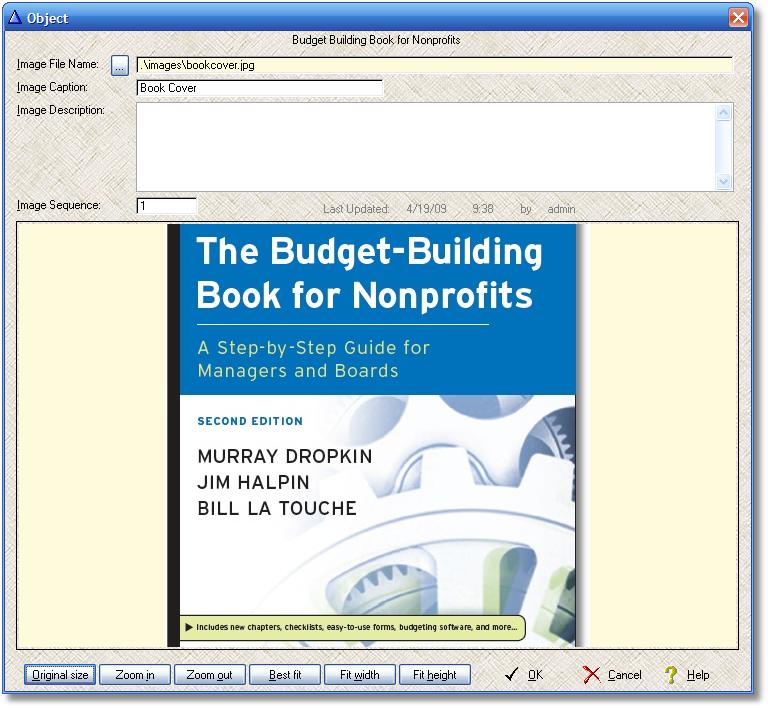
Here is the form that open up when you click on Insert or Change:

You add the information about the image:
Image File Name - a maximum of 255 characters - Required - Path and file name of the image file. The button to the left of the entry box will open up a Windows' Find File dialog, and you can use it to point to the image file. In a network setting, it is a good idea to place all of your images in a centralized location, and then map the location to a drive letter. The reason for this is simple - a path is included in the file name, and if that path is not the same for all users of the software, not everyone will be able to see the image. On the other hand, if you map the location to the same drive letter on everyone's computer, everyone will see the image because it can be found in the same relative location. Another technique that works in some network installation is to shorten the path (as in the example pictured above). By starting with the dot-slash combination to signify the current location, anyone using the same folder to run the software will be able to locate the images. See your network administrator for help on this subject. Single-user installations are not affected.
Image Caption - a maximum of 40 characters - Caption for the image
Image Description - a maximum of 1,000 characters - Description of the image
Image Sequence - a maximum of 3 characters - Sequence number for this object's images. The first image in the sequence is displayed on the Basic Info page.
Stored Internally - Yes or No - if you choose to store the image internally, a copy of your image is loaded into the database. The original image is no longer needed, although the path and image file name are still stored in case the image has to be exported (it is exported by the static web site generator). Storing images internally is a nice way to stay organized and it allows you to control access to the images, but it increases the size of the data files.
There are button below the Image Viewer panel to let you take a closer look at the image: Zoom In, Zoom Out, and so on.